
It is no secret that I adore Japanese culture and traditions, and that’s why learning how to make an origami crane winded up on my bucket list. It is truly fascinating how little tiny pieces of paper can be crafted into beautiful pieces of artwork!
Though this goal may appear simple at first glance, it can actually be pretty dang challenging without some detailed instructions. Luckily, the crane is one of the most popular of the animal shapes and fairly easy to learn, especially with this step-by-step guide.
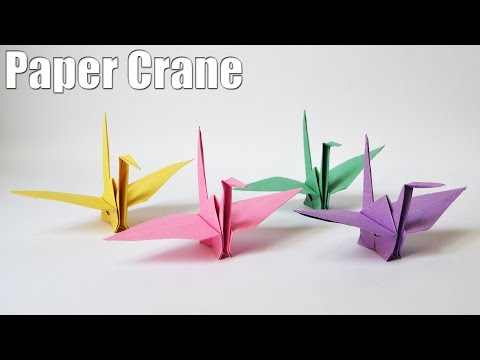
How to Make an Origami Paper Crane: Folding Instructions for the Beginner
The Tradition of Origami
It is said that the traditional art of folding paper originated way back during the Heian Period (794-1185) when paper was invented and brought to Japan from China. In the earlier years, due to the high costs of paper, origami was used only for religious purposes. However, it soon began a widespread tradition, yet still reserved for the skilled nobles. Today, origami is a beautiful art form created by people all around the world.
Legend has it that whoever folds a thousand paper cranes will be granted one wish, so we all need to get started…

Instructions for How to Make an Origami Crane
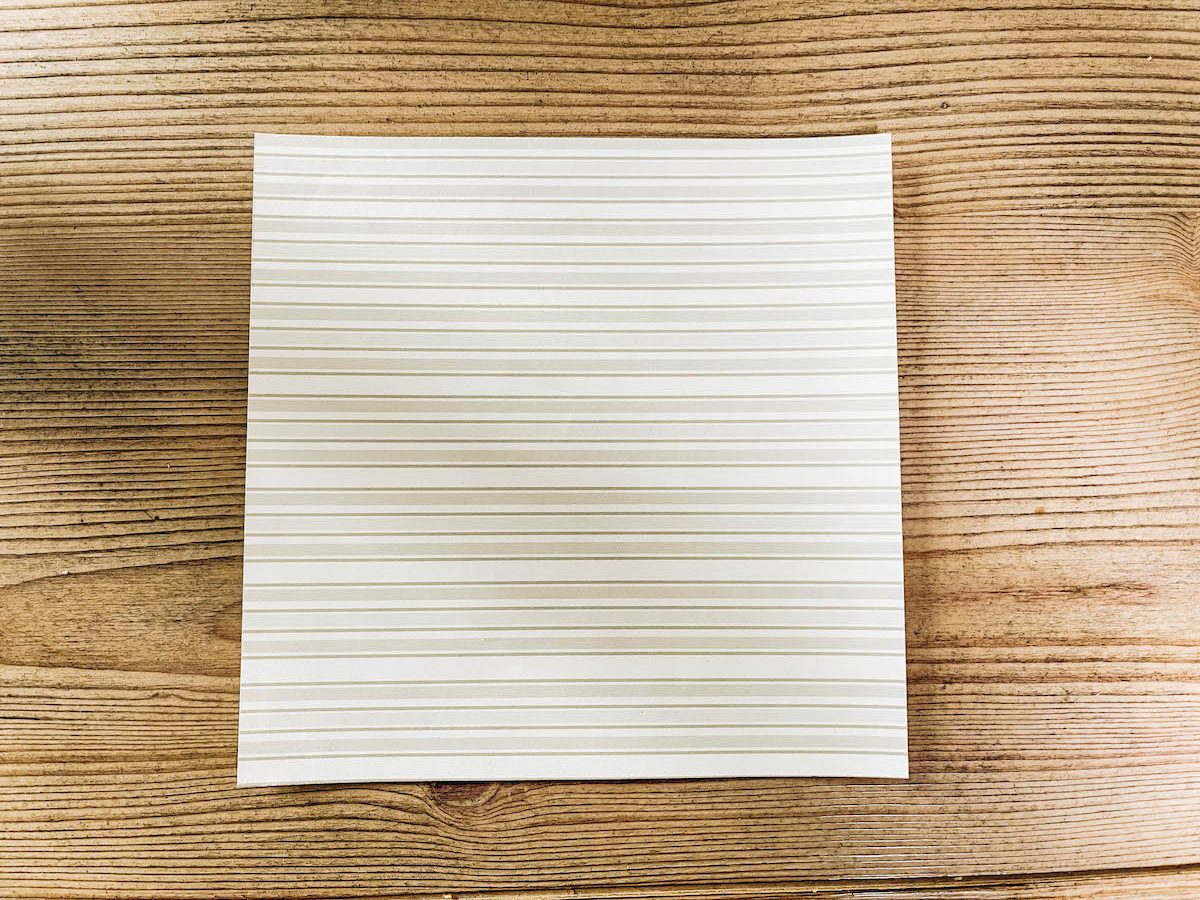
Step 1: Square Piece of Paper
Start with a square piece of paper, with the printed side face up. In this demonstration, I am using a 6″ square sheet which is one of the standard sizes for origami (3″ and 10″ are also common).
It’s perfectly okay to use a simple piece of white paper, but you can also buy colorful Japanese origami Washi Style Paper online.
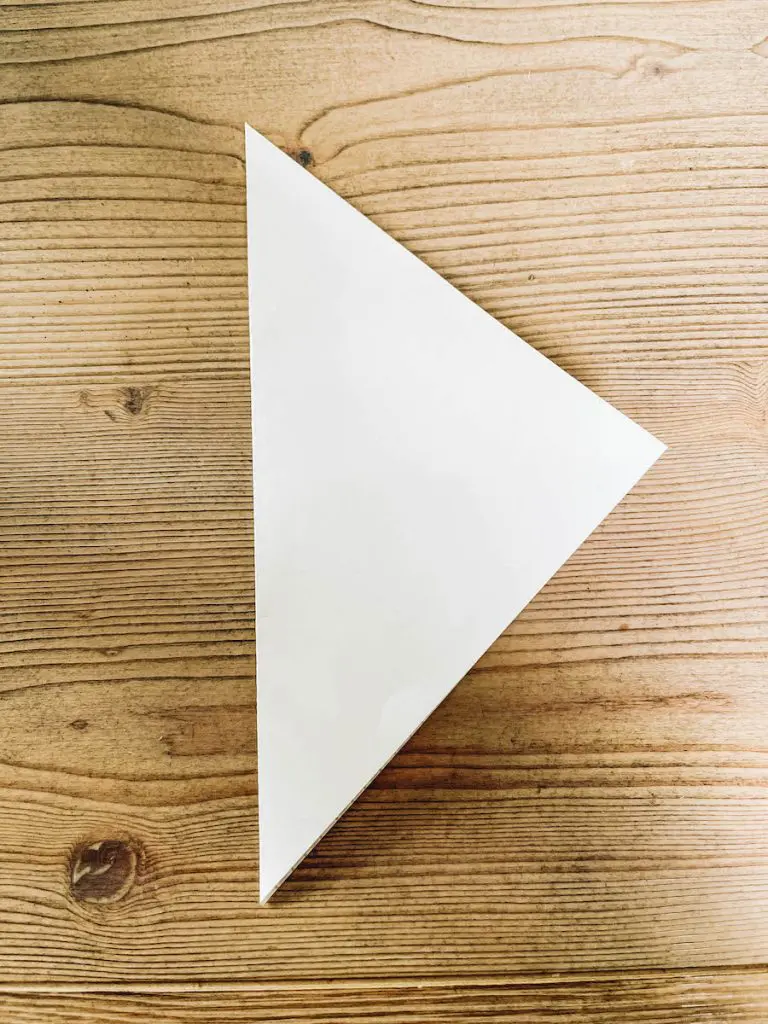
Step 2: Make Diagonal Folds
- Fold the paper in half diagonally, corner to corner, so that it forms a triangle.
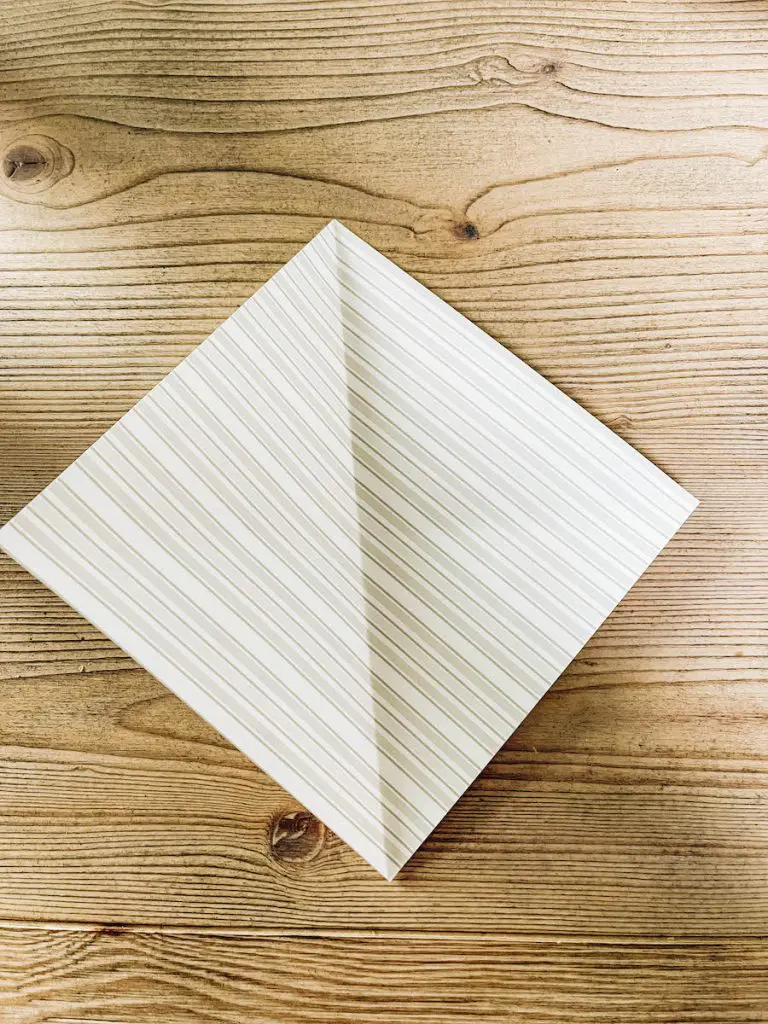
- Unfold the piece of paper and there will be a crease down the middle.
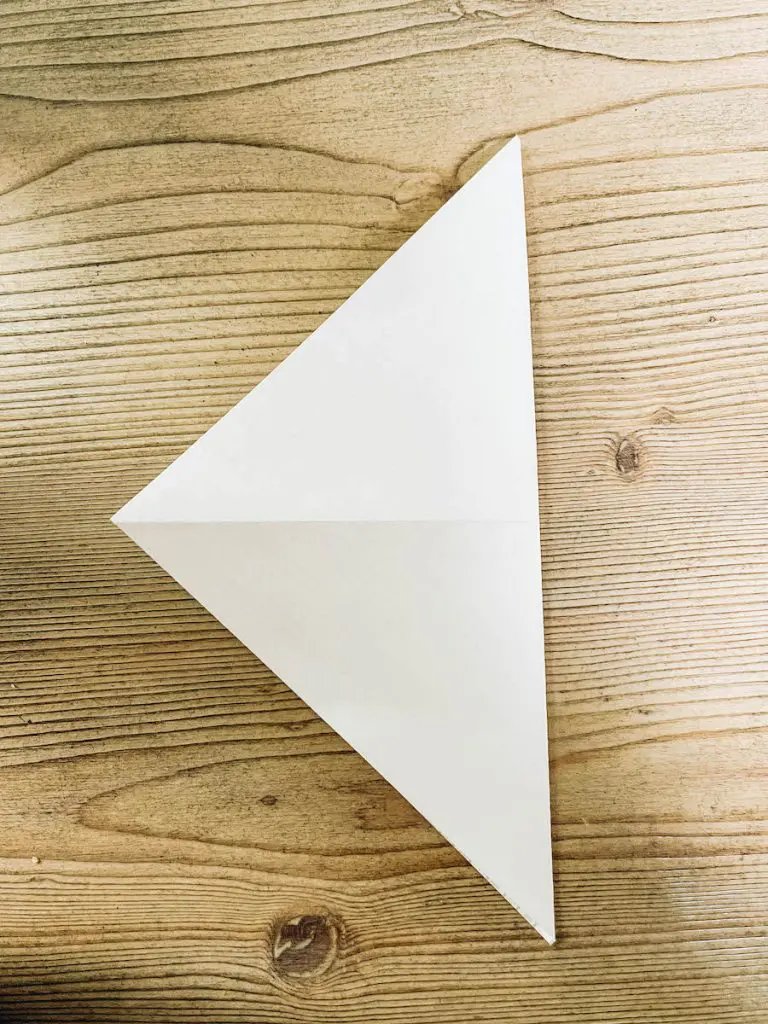
- Repeat the Diagonal Fold in the other direction.
- Unfold the paper and you should now have creases that look like an “X”
Step 3: Make Rectangle Folds
- Flip the piece of paper over
- Fold in half horizontally so it looks like a rectangle
- Unfold and fold again in half in the other direction, vertically
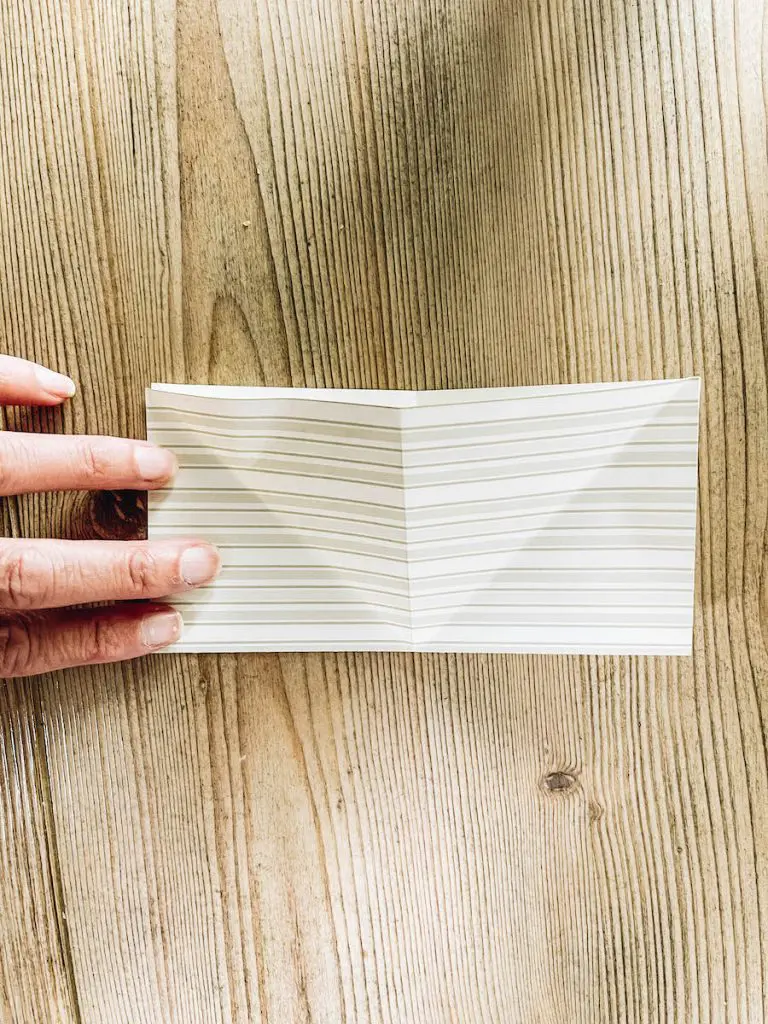
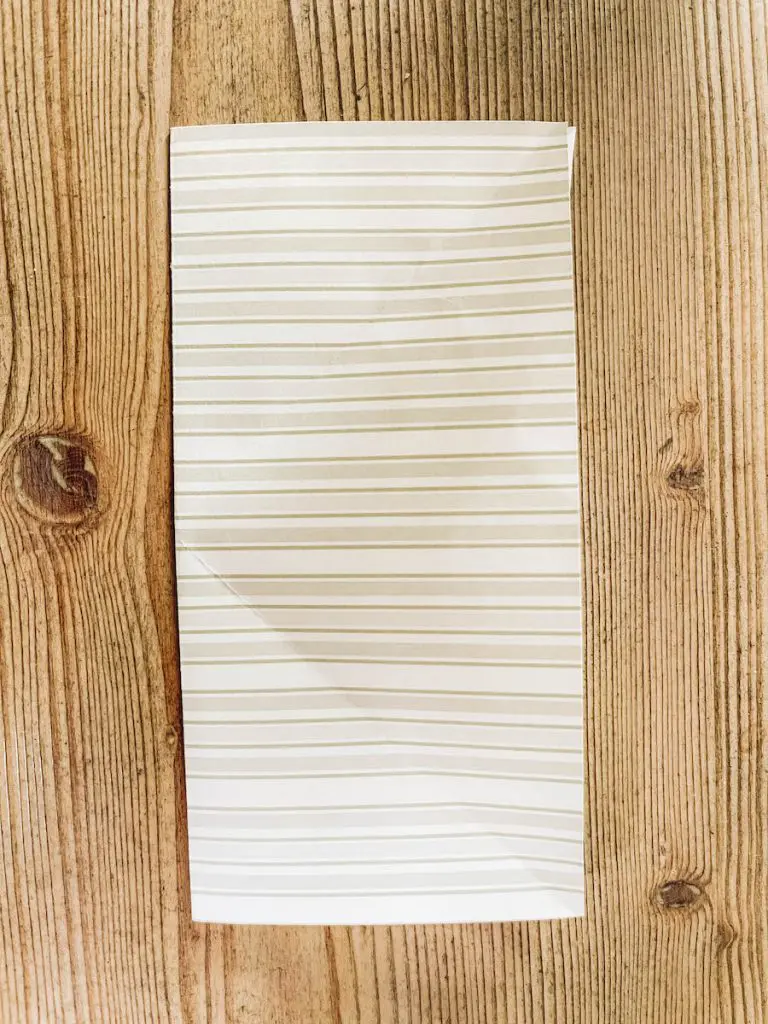
- Unfold the paper and you should now have creases that forms a “+” and an “x”

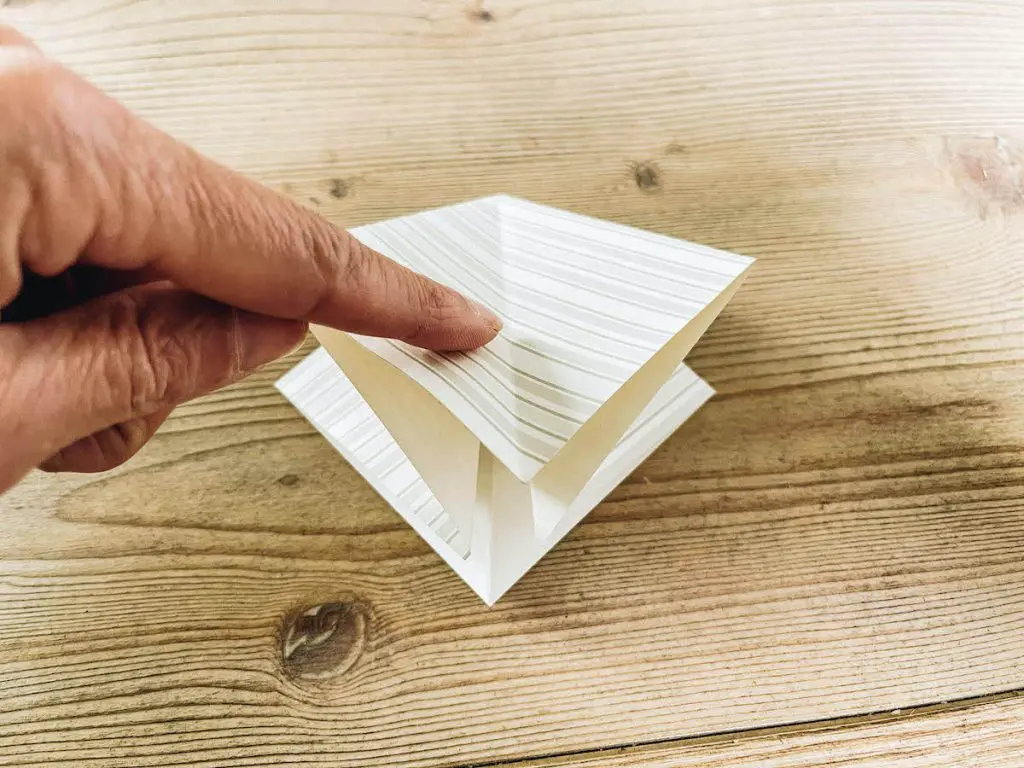
Step 4: Accordion Fold
With the colored side down and one corner pointed at you, bring the top point down to meet the bottom one, because of your previous folds the side points will fold nicely into the center. When flattened, it will be your square base.


Step 5: Squash Fold
- With the open end of your square base at the bottom, fold the left side to meet the center crease.
- Repeat this with the right side.


- Fold the top part down over your last two folds, and crease well.

- Unfold the last three folds and lift up the top flap of paper and flatten it into a squash fold.


Step 6: Repeat Squash Fold
- Flip your paper over and we are going to repeat the same folds above.

- Fold the left side and the right side to meet the center crease.


- Fold the top part down and crease well.
- Unfold the previous three folds.


- Lift up the top flap of paper and flatten it into a squash fold.
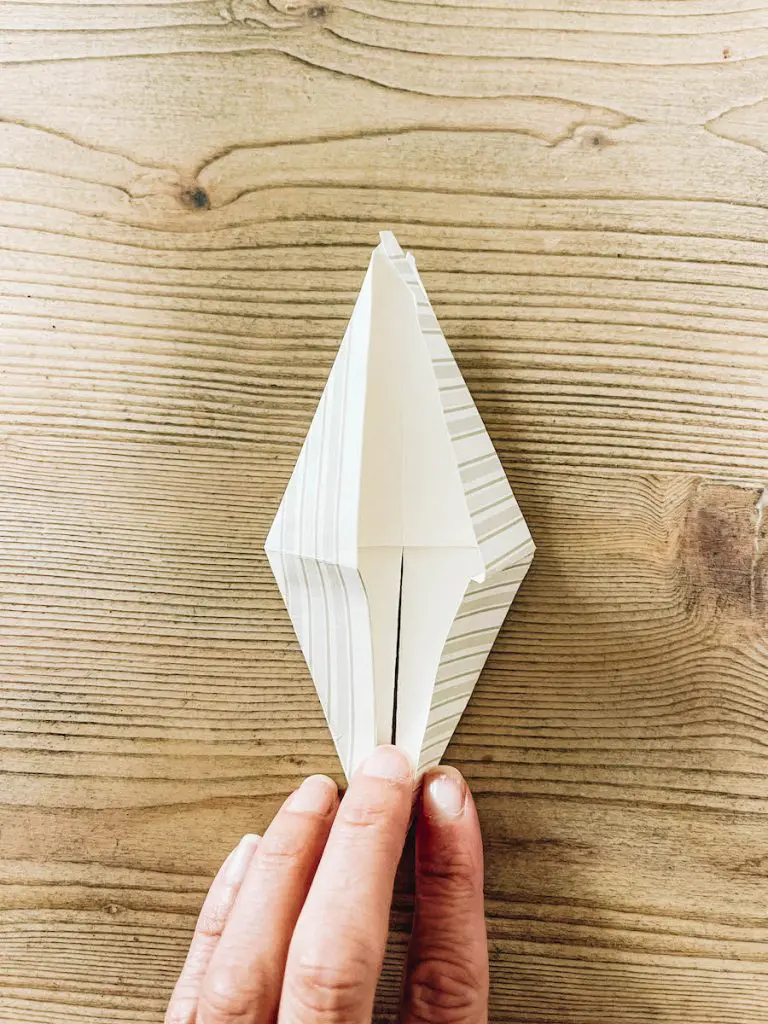
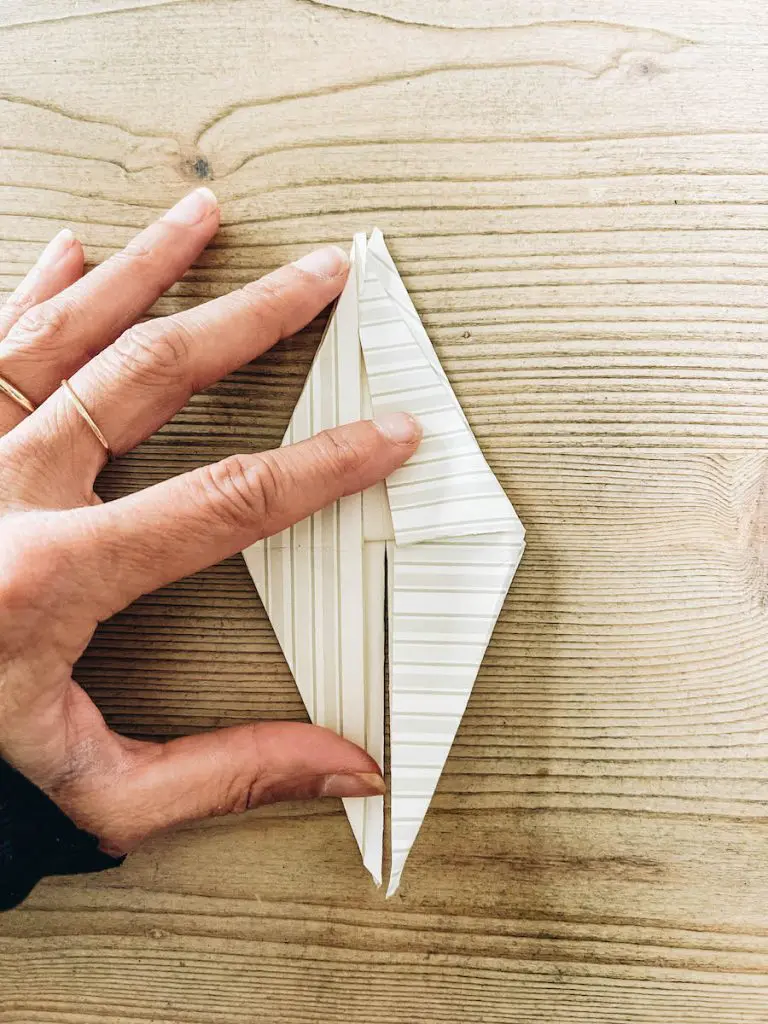
Step 7: Make Kite Fold
- Fold the left top flap to the center crease
- Fold the right top flap to the center crease
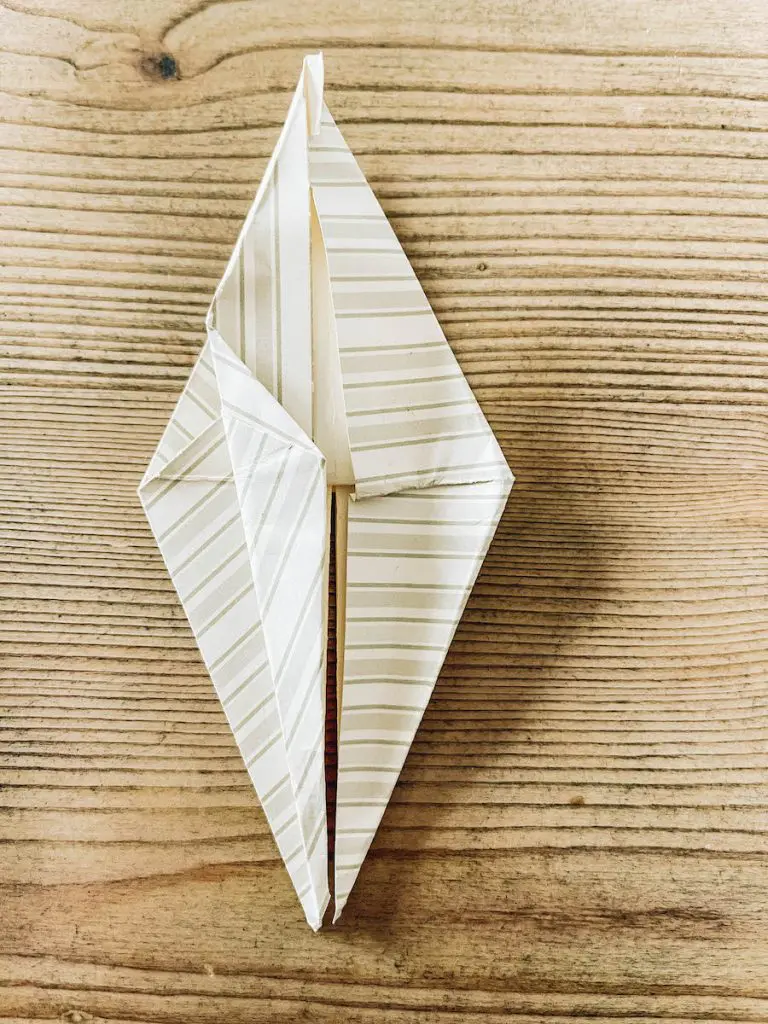

- Turn your origami crane over.
- Fold the right flap to the central crease
- Fold the left flap to the central crease, you will now have something that resembles a skinny kite.
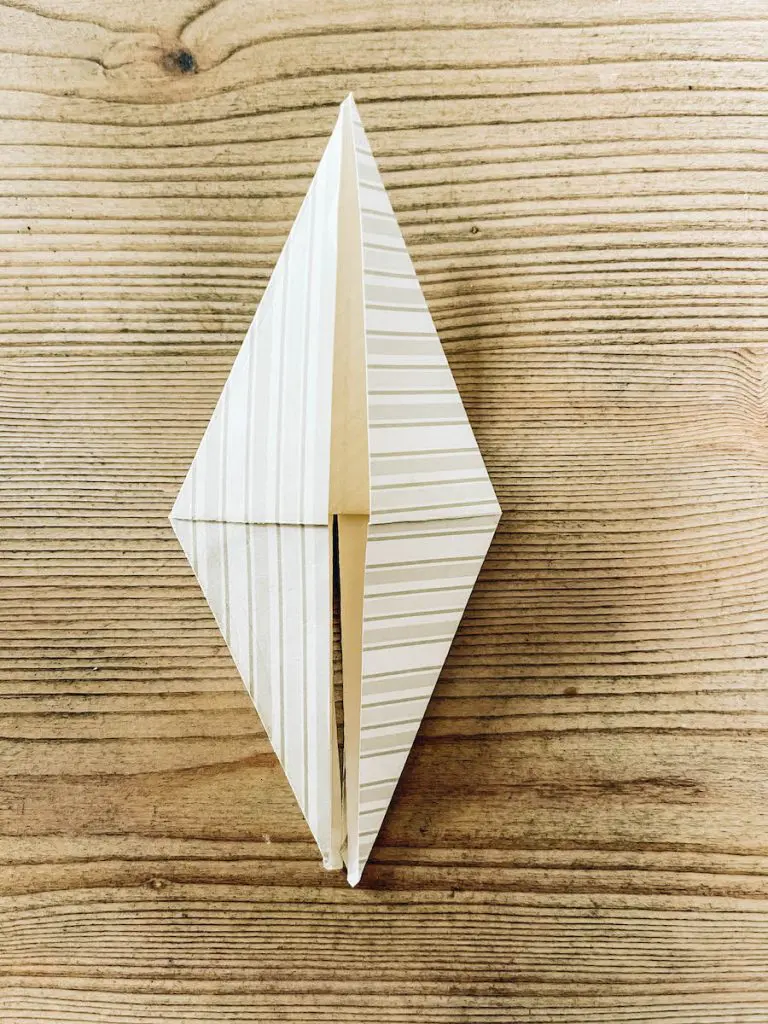
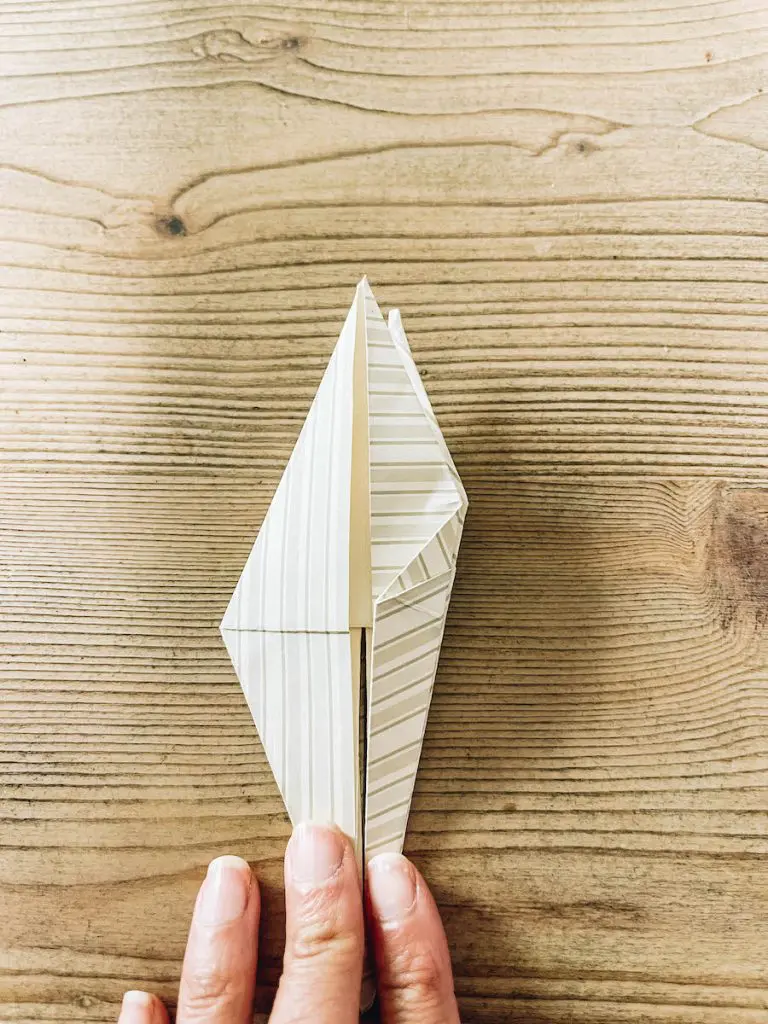
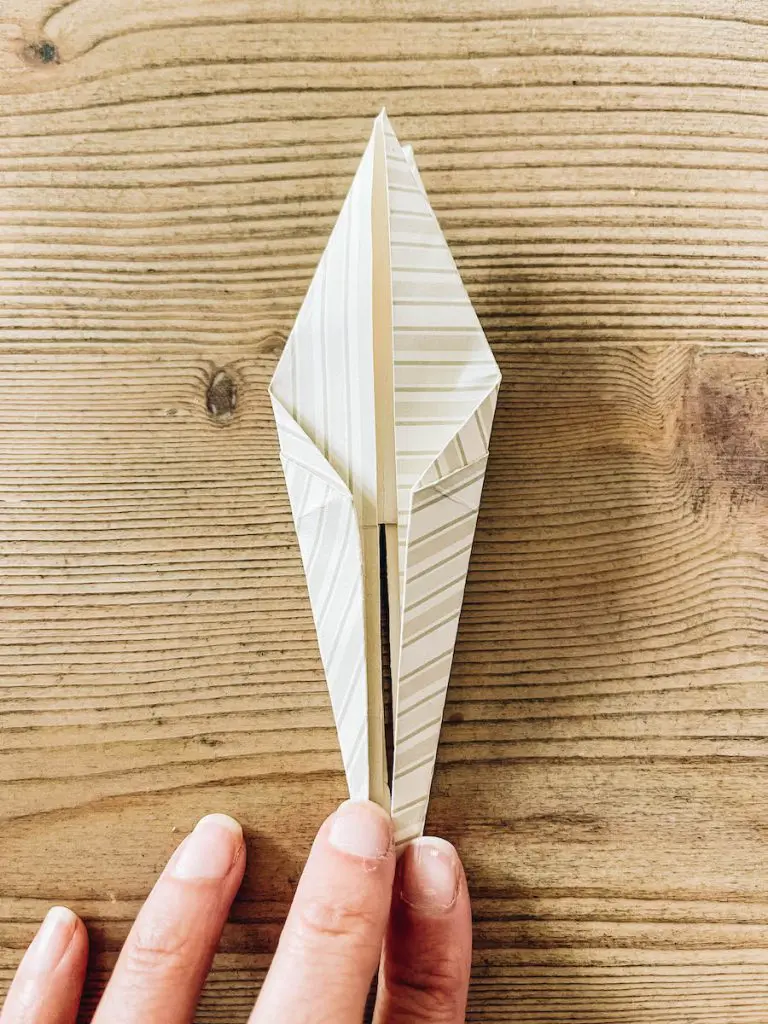
Step 8: Neck, Tail and Head
- To make the neck of the paper crane, fold the bottom right flap underneath and angled to the right.
- Repeat the above process with the left flap to make the tail of the origami crane.
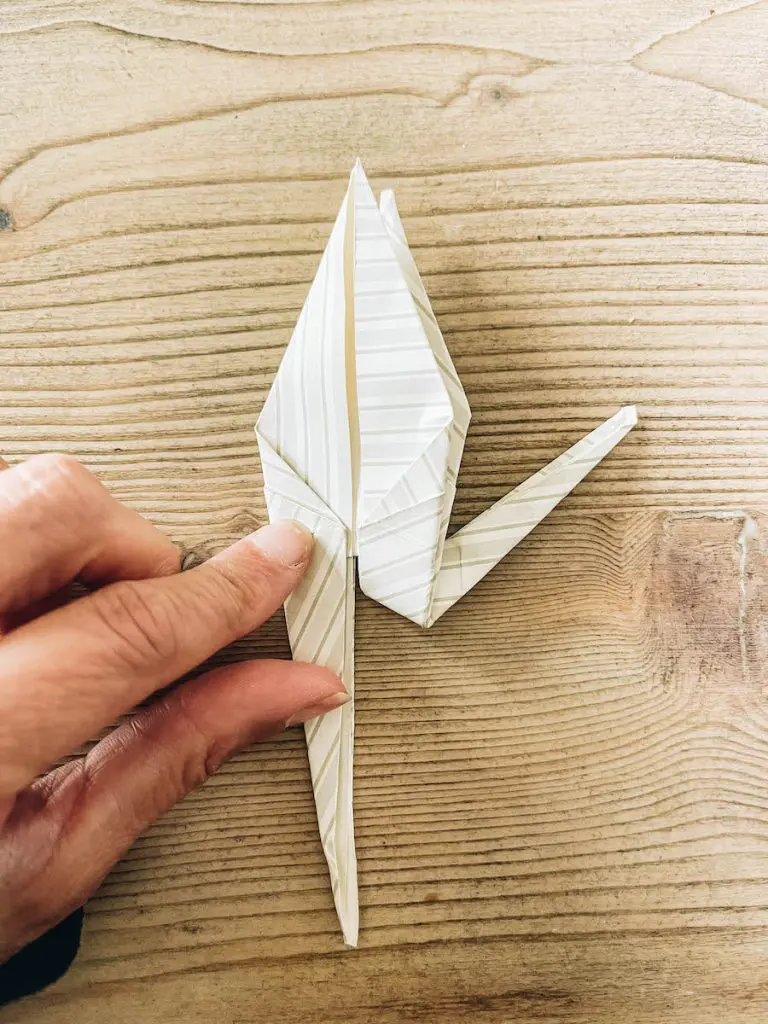
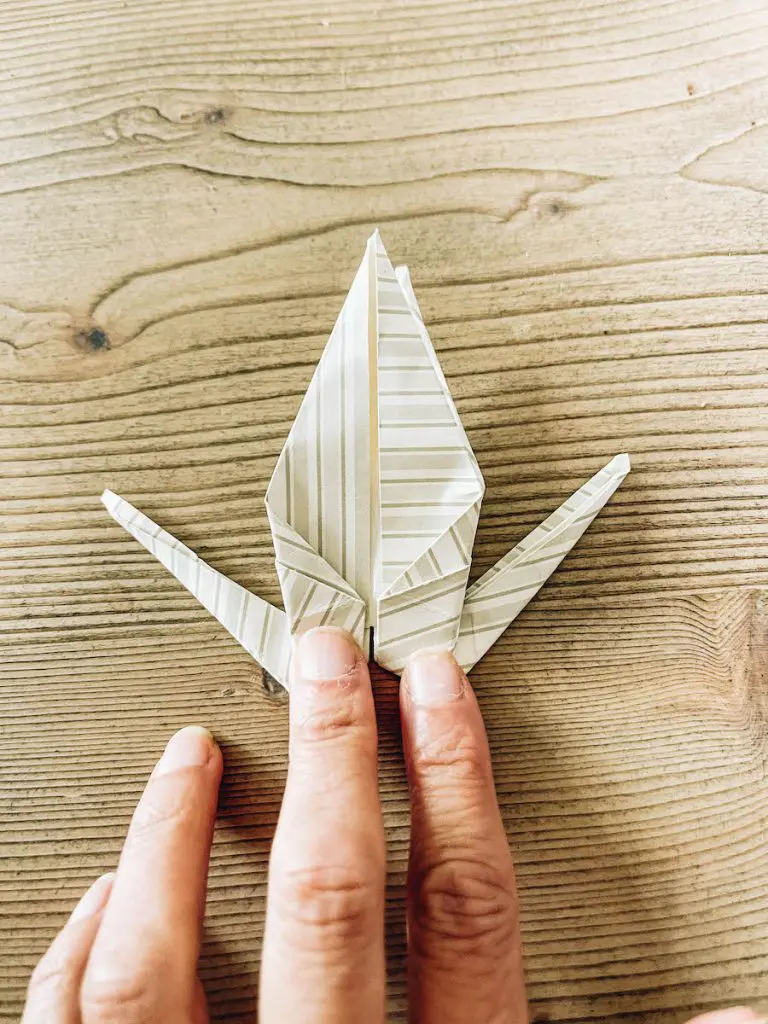
- Unfold the neck and do a reverse fold, pull it out slightly and tuck in-between the wings.

- Repeat with the tail
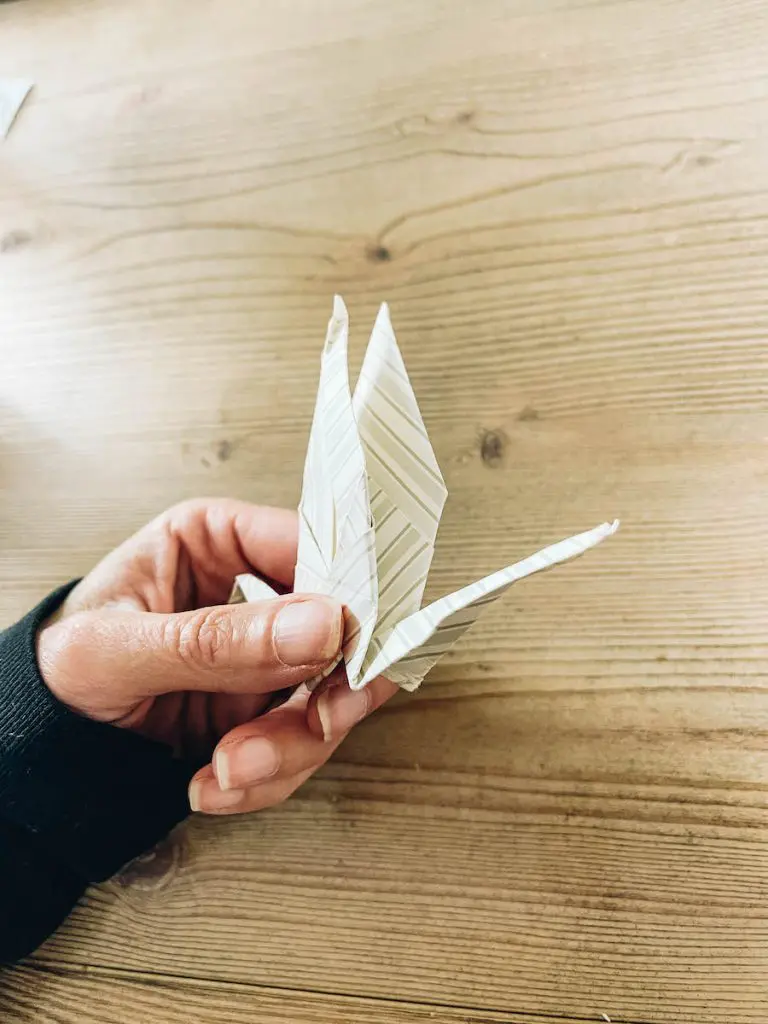
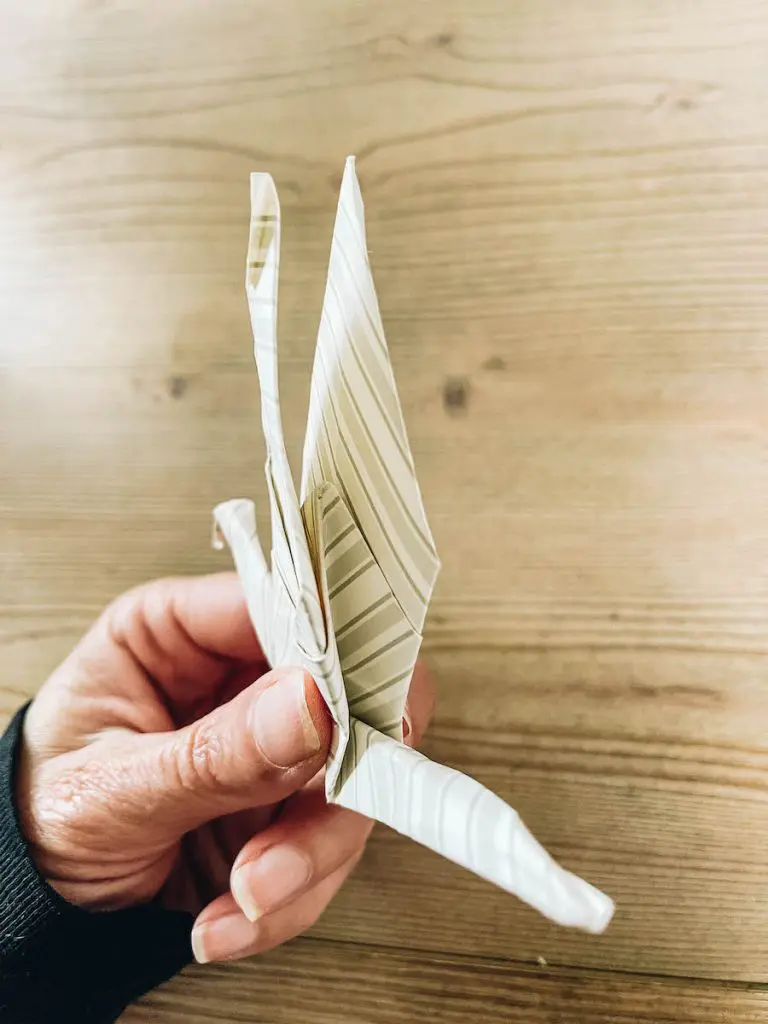
- Pull the head and tail out a little, and do an inside reverse fold to make the head.

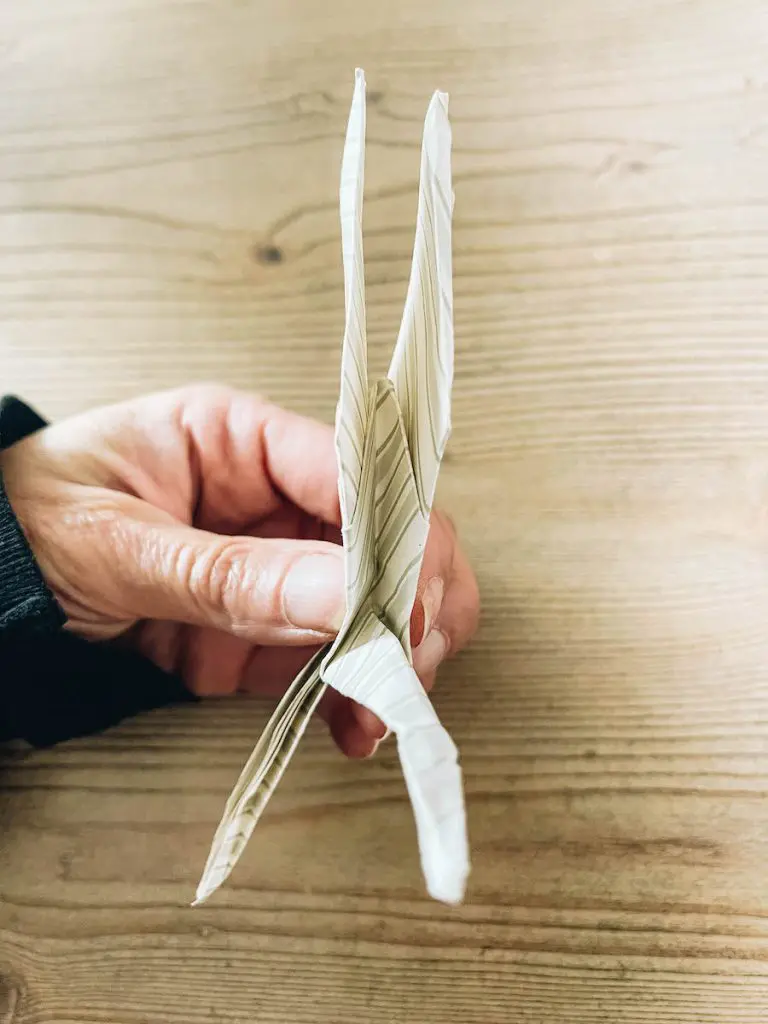
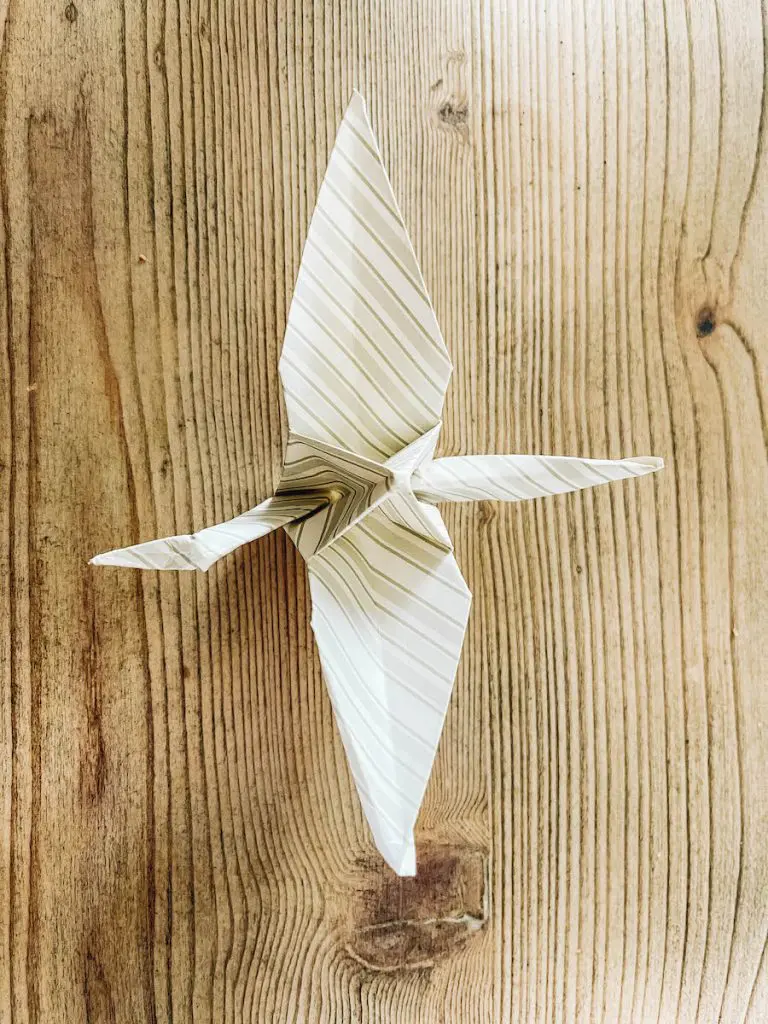
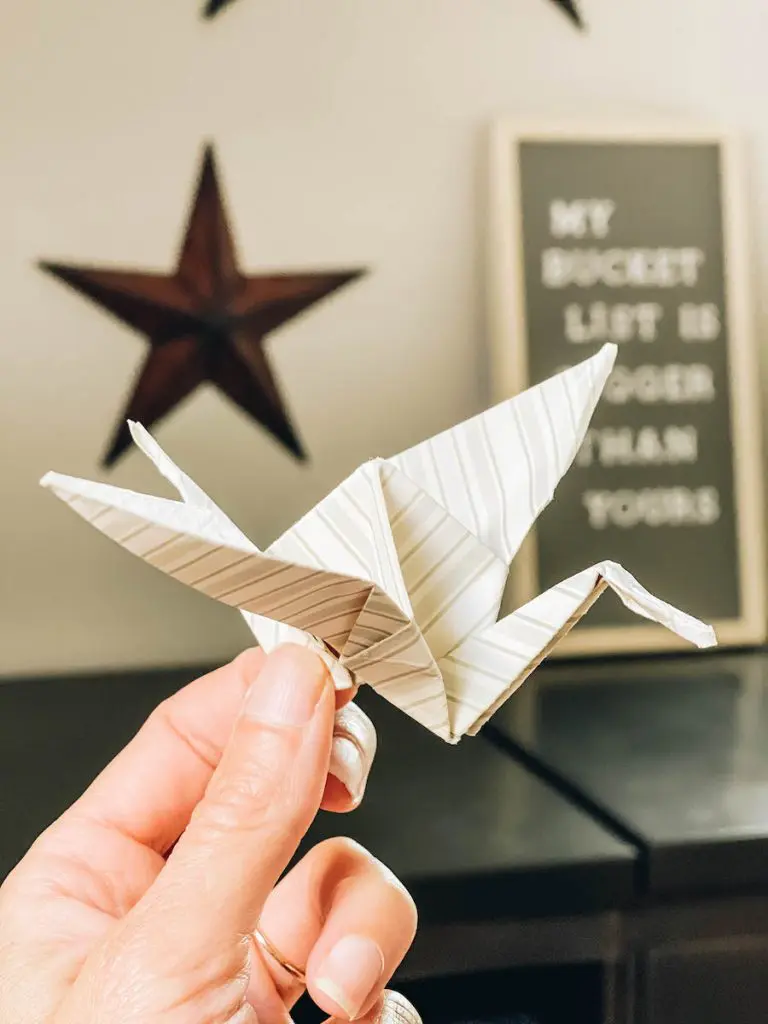
Step 9: Complete
To complete your crane gently pull out the wings.
Helpful Origami Paper Crane Videos
If your still having trouble with making your crane, these videos will help:

Ready to Start living your bucket? Use my Favorite Resources:
Finding Ideas
Of course this bucket list blog and my bucket list are great resources, but you can also use my free printable 2,000 bucket list ideas.
Naming Your List
Some people don’t love the term “bucket list”. But, what is most important is that you have a list, not what you call it, so here are 25 other names for a bucket list.
Storing Your List
I’ve created the perfect Google Sheets Bucket List Tracker Spreadsheet, that helps you store your list, plus keep track of all those checkmarks you’ll be making on it!
Save this Post to Pinterest

You Might Also Enjoy


Thank you for this amazing post, it has helpful content.
Thank you sharing insightful information
It just takes a little patience and some practice. You have to concentrate and fold accurately. Don’t give up, I know you can do it.